




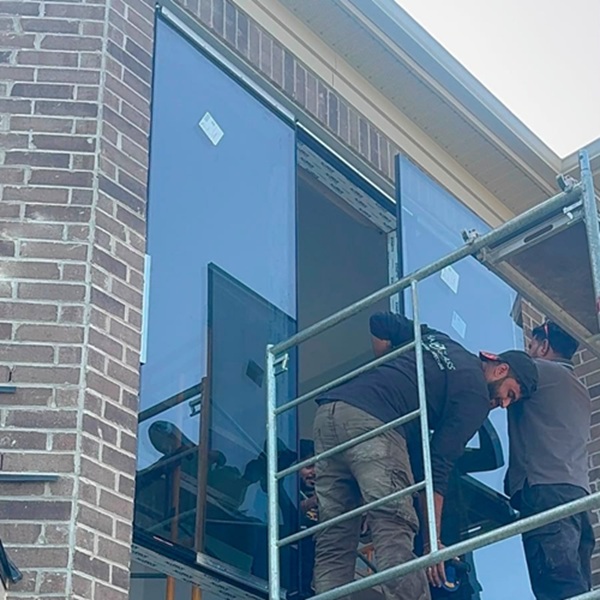
While curtain wall systems have been a common fixture for urban high-rises, their use in residential construction seems to be on the rise. Their uncompromising views and added protection are some of the reasons behind their recently soaring popularity. However, their final performance depends entirely on how well they have been installed.
Made up of a myriad of key components, installing curtain wall systems in residential projects is not easy. It requires careful planning and close familiarity with the steps involved in the entire process.
This blog from HaloGlass, a top supplier of aluminum doors, windows, and more in Toronto, will help contractors understand core curtain wall installation steps that map their journey from first delivery to final inspection.
What Are The Major Installation Steps For Curtain Walls?
In Ontario, most contractors follow the given steps for curtain wall installation projects. Following these steps improves on-site planning, coordination, and quality control.
Step #1: Review drawings and site conditions
A careful review of the approved shop drawings, system specifications, structural details, and installation requirements ensures you do not miss out on any important details that might adversely impact installation. Be sure to confirm structural openings, slab edges, embeds and anchor locations as well. This ensures the installation process is in compliance with approved designs.
Step #2: Inspect and prepare individual components
Curtain wall systems arrive disassembled on-site. Before installation begins, you must check each component to ensure it is in good shape and free of damage. Inspections should also involve checking for missing hardware, incorrect dimensions, or finish issues.
After every item has been inspected, organize them in the sequence they will be used, starting with mullions and moving all the way up to sealing agents. Have proper material handling techniques in place to ensure nothing gets damaged during installation.
Step #3: Establish clear reference lines
A clear layout ensures you know exactly where everything goes. So as soon as the materials arrive onsite and pass the quality check, start establishing vertical and horizontal reference points in accordance with your project’s approved survey points.
At this stage, verifying a few specs is important, including floor-to-floor dimensions, grid lines, slab edge locations, opening dimensions, and required curtain wall offsets. Having these clearly mapped out prevents the occurrence of even the smallest of errors, which can actually cause misalignment issues.
Step #4: Install anchors and brackets
When it comes to installing curtain walls the right way, anchors and brackets go first. They establish the connection between the system and the building’s structure, laying the groundwork for framing. Be sure to install anchors and brackets at their specified locations only, and double-check their alignment. Installed anchors and brackets should be able to support the entire system’s structural requirements while accommodating normal building movement without causing any damage.
Step #5: Install the frame
Depending on the type of unit you get – prefabricated or deconstructed, framing installation might look a little different. If you get the latter, it will involve assembling vertical mullions and horizontal transoms onsite.
In any case, during this step, you should consistently check the framing’s plumb, level, alignment, joint dimensions, and connections to ensure it’s properly installed. Consistent alignment prevents minor deviations from occurring, which can make the whole system look lopsided after installation.
Step #6: Install glazing and seals
Once the framing is set and perfectly aligned, move on to accurately positioning and fixing glazing units. All sealing components, including gaskets, setting blocks, pressure plates, etc., should be properly installed to maintain the structural integrity and air and water performance of the curtain wall system.
That said, be careful when affixing seals. They should not get damaged in the process. If they do, they will lose their effectiveness.
Step #7: Conduct final inspection and testing
Before calling the project complete, check the alignment of the installed facade to ensure everything is in order. Look for damages, glazing defects, sealant issues, and incomplete components too. If any of these are found, take prompt action to address them as they can turn into serious problems later.
Conclusion
Successful installation of residential curtain wall systems depends on how well you sequence the entire process. Following the correct order is key to ensuring individual components do not get damaged and fit exactly where they are supposed to. One way to minimize reworks or errors is to get systems that are carefully crafted for high performance and quality.
HaloGlass’ premium curtain wall systems can be used for both residential and commercial projects in Ontario. Contact us to explore our range of exceptionally built facades, curtain walls, and more.
FAQs
How long does it take to install curtain walls?
What kind of equipment is needed for successful curtain wall installation?
Is it better to install curtain walls before the interiors of a project have been completed?